Laminate sheets are widely used in furniture manufacturing, cabinetry, wall panels, countertops, and interior decoration due to their durability, affordability, and attractive appearance. Whether you’re a professional fabricator or a DIY enthusiast, learning how to cut laminate sheets correctly is essential for achieving clean edges, minimizing waste, and ensuring a professional finish.
In this guide, we’ll walk you through the best methods, tools, and expert tips for cutting laminate sheets safely and accurately.
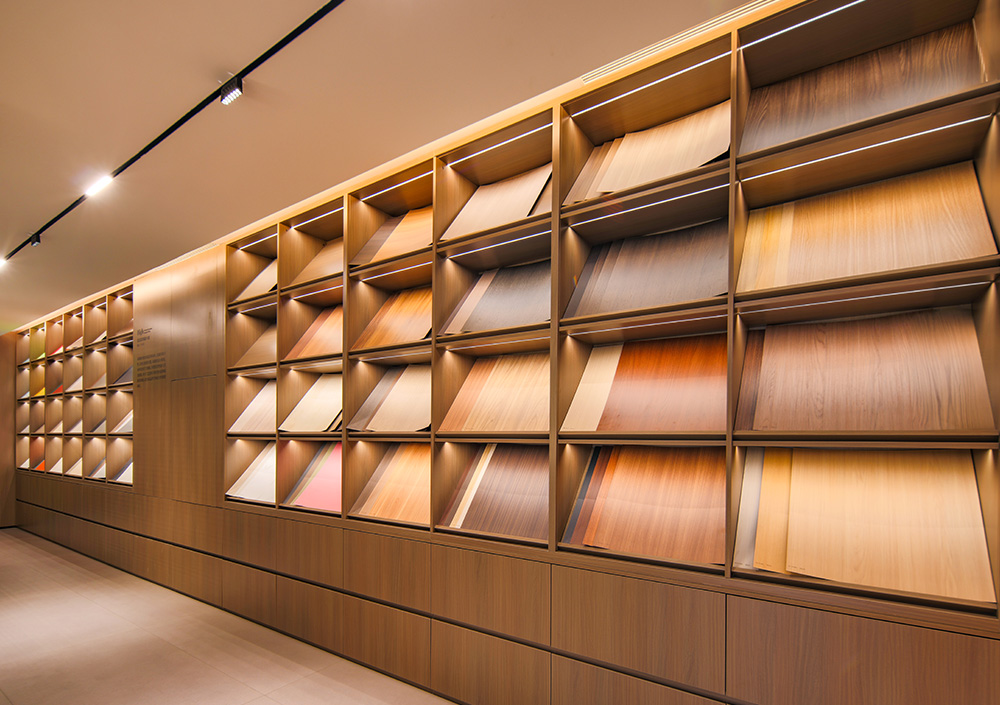
What Are Laminate Sheets?
Laminate sheets are decorative surface materials made by pressing layers of kraft paper and decorative paper together under high heat and pressure. High-pressure laminate (HPL) is especially popular because of its resistance to scratches, moisture, heat, and everyday wear.
Common applications include:
- Kitchen countertops
- Cabinets and wardrobes
- Office furniture
- Wall cladding
- Retail displays
- Commercial interiors
Because laminate is hard and brittle, improper cutting can lead to chipping, cracking, or uneven edges.
Essential Tools for Cutting Laminate Sheets
Before starting your project, gather the right tools.
For Straight Cuts
- Circular saw
- Table saw
- Fine-tooth laminate blade
- Straightedge guide
- Measuring tape
- Clamps
For Curved or Detailed Cuts
- Jigsaw with laminate blade
- Router with flush-trim bit
- Utility knife (for thin laminates)
Safety Equipment
- Safety glasses
- Dust mask
- Hearing protection
- Work gloves
Using the correct blade is crucial. Fine-tooth carbide-tipped blades generally provide the cleanest cuts and reduce chipping.
Step-by-Step Guide to Cutting Laminate Sheets
Step 1: Measure and Mark Carefully
Accurate measurements are the foundation of a successful project.
- Measure twice before cutting.
- Use a pencil or fine-tip marker.
- Apply masking tape along the cutting line to reduce surface chipping.
- Mark the cut line clearly.
Step 2: Support the Sheet Properly
Place the laminate sheet on a stable workbench or sacrificial plywood board.
Proper support helps:
- Prevent vibration
- Reduce cracking
- Improve cutting accuracy
Secure the sheet with clamps to prevent movement during cutting.
Step 3: Choose the Correct Blade Direction
The cutting direction depends on the tool you’re using.
Circular Saw
Since circular saw blades cut upward through the material:
- Place the decorative side facing down.
- Cut slowly and steadily.
Table Saw
Table saw blades cut upward from below:
- Place the decorative side facing up.
- Use a fine-tooth blade for the best results.
Step 4: Make the Cut
Start the saw before contacting the laminate.
Important tips:
- Maintain steady pressure.
- Avoid forcing the blade.
- Let the blade do the work.
- Keep the saw aligned with the guide.
Slow, consistent cutting typically produces cleaner edges than rushing through the material.
How to Cut Laminate Sheets Without Chipping
One of the biggest challenges when working with laminate is preventing edge chipping.
Use Masking Tape
Applying painter’s tape over the cut line helps support the decorative surface during cutting.
Score the Surface First
Use a sharp utility knife and straightedge to score the laminate before making the full cut.
This technique creates a controlled break line and minimizes tear-out.
Use a Sharp Blade
Dull blades generate excess heat and vibration, increasing the risk of chips and cracks.
Replace worn blades regularly for the best results.
Cut Slowly
High-speed cutting often leads to rough edges. A slower, controlled feed rate typically produces cleaner cuts.
Cutting Curves and Complex Shapes
For sinks, outlets, rounded corners, or custom designs, a jigsaw may be required.
Best Practices
- Use a fine-tooth laminate blade.
- Drill a starter hole if needed.
- Cut slightly outside the line.
- Finish the edge with a router or file.
A router equipped with a flush-trim bit can create smooth, factory-quality edges after rough cutting.
Finishing the Edges
After cutting, inspect the edges for minor imperfections.
Edge Finishing Methods
- Fine sandpaper (220–320 grit)
- Laminate file
- Router trim bit
- Edge banding application
Avoid aggressive sanding, as it may damage the decorative surface.
Proper edge finishing improves both appearance and durability.
Common Mistakes to Avoid
Using the Wrong Blade
Wood-cutting blades with fewer teeth often cause severe chipping.
Cutting Too Fast
Rushing increases heat buildup and edge damage.
Poor Sheet Support
Unsupported laminate can flex and crack during cutting.
Skipping Safety Equipment
Always wear appropriate protective gear when using power tools.
Ignoring Blade Maintenance
A dull blade can ruin an otherwise perfect cut.
Professional Tips for Better Results
Experienced fabricators often follow these additional techniques:
- Use zero-clearance inserts on table saws.
- Make a shallow scoring pass before the full-depth cut.
- Keep blades clean from adhesive buildup.
- Test cuts on scrap material first.
- Use routers for final edge perfection.
These small steps can dramatically improve cut quality and reduce material waste.
Conclusion
Learning how to cut laminate sheets correctly can make a significant difference in the appearance and longevity of your project. By using the right tools, selecting proper blades, supporting the material adequately, and following proven cutting techniques, you can achieve clean, professional-quality results while minimizing chipping and waste.
Whether you’re building custom furniture, installing countertops, or creating decorative wall panels, careful preparation and precise cutting are key to success.
For premium-quality High Pressure Laminate (HPL) sheets and professional laminate solutions, contact REXIN HPL at Export@rexinhpl.com. Our team is ready to help you find the ideal laminate products for your next project.